Ratchet and pawl, no-back: forward yes, return no
A toothed wheel and a pawl: two parts give you the simplest no-back there is. The wheel turns freely one way, the pawl drops onto each tooth with a click, and the moment you try to turn it back, it jams against a tooth flank and the wheel stops dead. There's no friction spring that gives way slowly, no clutch that slips: it either advances or it holds, nothing in between. It's the basis of every ratchet wrench, every tensioner that must not release, and any mechanism that advances in counted steps. And in FDM it comes down to two specific places: the angle of the locking flank, which decides whether the pawl grabs or skips, and the root of the pawl, which decides whether the part holds or snaps on the first hard pull.
The kinematics: one flank lets it through, the other jams
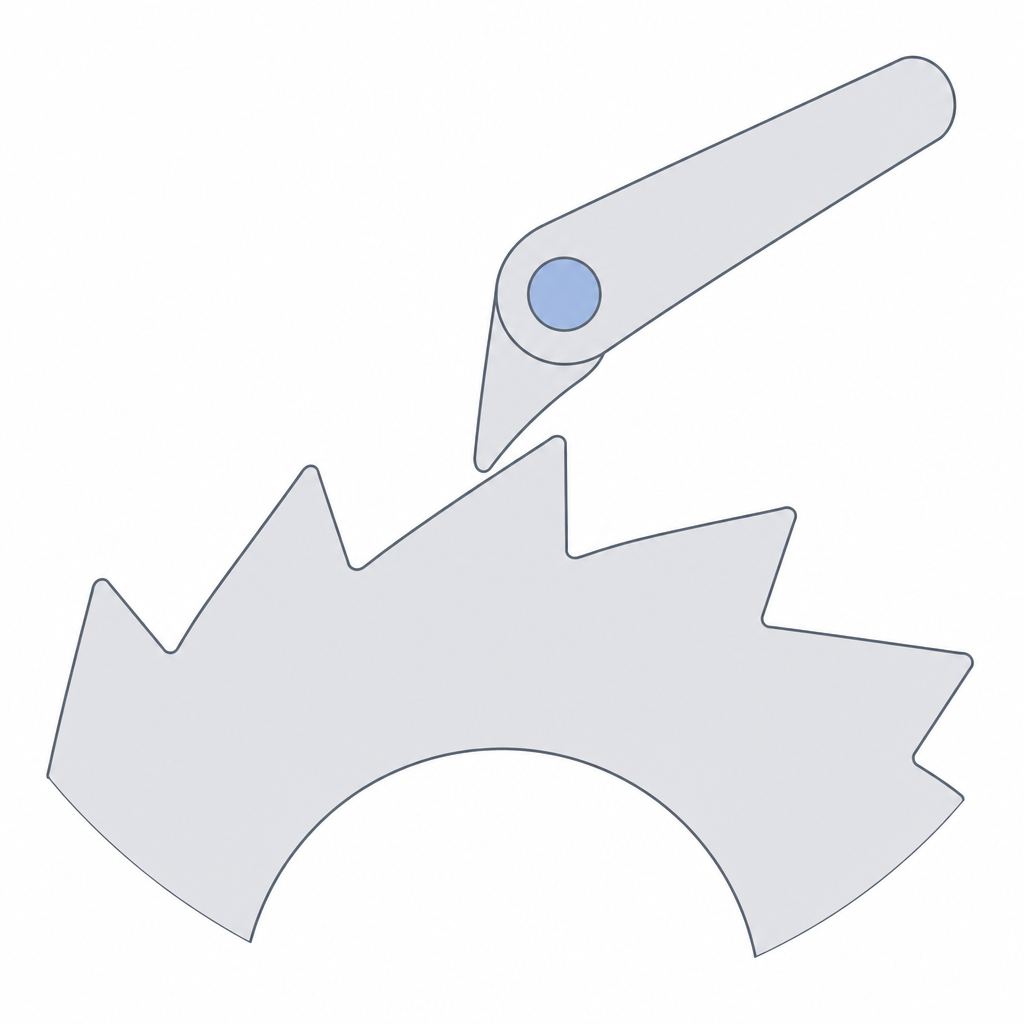
Each tooth on the wheel has two different faces, and that asymmetry is the mechanism. One is the gentle flank, a shallow ramp; the other is the locking flank, nearly vertical. The pawl is an elastic arm that drops onto the teeth under its own tension, resting its tip against the locking flank, near the crest, not at the bottom of the valley between two teeth.
In the forward direction, the gentle flank pushes the pawl tip: the ramp lifts it, the pawl flexes, clears the crest of the tooth, and drops onto the next one. That lift-and-drop is the click, and it's the only thing the wheel has to overcome to turn: the stiffness of the arm, not any working load. In the return direction, the geometry changes completely. Now the pawl tip butts against the locking flank, and that flank has no ramp to lift it: the return force pushes the tip flat against the tooth, and the wheel is locked.
Understanding that distribution of loads matters because it defines what each part has to withstand. Going forward, the arm works in repeated bending, cycle after cycle, and that is its fatigue mode. In lock, the pawl tip takes the push of the flank, and unless the arm is aligned exactly with the line of force—a strut in pure compression, a special case, not the general one—that force also introduces a bending moment at the root. That's why the root of the pawl is a critical zone in both modes: cyclic bending on every advance, and the peak load on every lock. They are two different loadings on the same part, and you size for each separately.
The flank angle: grab or skip
The tooth count gives you the angular pitch—how far the wheel advances between clicks—and that's pure geometry: a higher tooth count means finer steps and a smoother feel, at the cost of smaller, more fragile teeth. But the parameter that decides whether the ratchet works is not the pitch: it's the angle of the locking flank relative to the radial line at the contact point, the line joining that point to the center of the wheel.
Think of it as resolving the forces at the contact. When the wheel pushes back against the pawl, the force normal to the flank generates a moment about the pawl pivot. If that force passes inside the pivot, its moment drives the tip deeper into the tooth: the lock reinforces itself and bites harder the more you push. That's self-locking, the mechanism reinforcing its own grip. If the normal force passes outside the pivot, its moment tends to lift the tip up over the crest, and the pawl kicks out: under load, the wheel jumps back a step, or several.
Kick-out is the ratchet's silent failure mode: it assembles fine, clicks cleanly, and gives way exactly when you put real load on it. The defense is geometric and nearly free: tilt the locking flank so the normal at the contact falls inside the pivot, with a small negative pressure angle relative to the radial line, rather than leaving the flank purely radial. On the order of 5° to 15° of inward tilt is usually enough to go from "tends to skip" to "settles harder the more you push." The exact value depends on the friction between tip and flank: friction helps it settle, so the smoother and more slippery the contact, the more angle you need.
When the ratchet is the right choice
The ratchet is for when you want directional locking with discrete steps and an audible feel. The no-back of a winch that reels in cable and must not unwind, a clamp that tightens click by click and stays put, a belt tensioner that advances and holds itself, an indexer that must stop at defined positions and let you feel each detent. In all of those cases you want two things: that return is forbidden, and that each step is an event, countable and audible.
That's what sets it apart from a continuous-friction no-back, like a wrap spring: that one grips at any angle, with no steps, smoothly and silently, but it doesn't give you discrete positions or the snap that confirms the advance. If you need the user to count clicks, or the mechanism to anchor at defined positions, the ratchet is the answer; if you only want something not to turn backward at any point, there are finer options. The price of the ratchet is resolution: between one tooth and the next there's no retention, so the lost motion can reach almost a full step before the flank bites again.
Printing it in FDM so it doesn't break
Orientation is almost everything, and it starts with the wheel. Print it with the axis vertical, flat on the bed. That way the teeth form in the plane of the layers, with clean profiles, and—what matters—the tangential load of the locking flank acts in the XY plane, running along adjacent beads of the same layer, where FDM is strong. If you printed the wheel on edge, that same return load would pull to separate the layers right at the most loaded flank, and the tooth would come apart along its weak plane. The underlying reason is the usual one: the part is strong along the bead and weak between layers, and that's what Layer orientation for motion covers.
The pawl is an elastic cantilever, and its orientation follows the same logic as any tab that flexes: lay it out so it flexes in the plane of the layers, following the beads, not stacking layers across the bending direction. A pawl printed on edge delaminates at the root after a handful of clicks, because each flex pulls directly on the bond between two layers at the point of maximum stress. In the plane of the layers, the same flex runs along the bead and the interlayer bond isn't put in tension.
Reinforce the two zones that concentrate load: the root of the pawl, where the arm flexes the most on each advance and takes the bending moment of the lock, and the base of the tooth, which withstands the push on each return. Raise perimeters and infill there—the continuous perimeter is what really carries the load, not a mesh of sparse infill—place the layer seam away from the root of the pawl so you don't leave a defect right at the stress riser, and put a generous fillet radius at the start of the arm: a sharp corner at the root is a stress concentrator that snaps the pawl long before the rest of the part is anywhere near its limit. And watch the clearance between the pawl tip and the tooth flank: a printed gap comes out narrower than drawn, so a pawl that doesn't fully settle locks with less contact area than you calculated, by the same dimensional shift that Tolerances for moving parts explains.
The three failure modes, in order of likelihood
The first and most common is the pawl breaking at the root. It's the zone of maximum flexing on advance and the one that takes the bending moment of the lock, and it gets worse if the layers are badly oriented: an arm printed on edge stacks interlayer weakness on top of the stress peak and delaminates early in service. The defense is that of any elastic cantilever—a longer arm rather than a thicker one, a fillet radius at the root, layers in the plane of bending—and the mechanism of the vertical crack that follows the layer line is the same one Interference without cracking describes for press-in lugs: the part comes apart along its weak plane, not through the solid plastic. That said, lengthening the arm has a price worth keeping in mind: a longer, more flexible arm presses the pawl with less force, and if you're already tight on lock angle, that lower contact pressure brings you closer to kick-out under vibration. There's a balance between "a long arm so it won't break" and "enough stiffness to bite firmly."
The second is the rounding and wear of the teeth. Every lock hammers the crest of the tooth and the pawl tip, and the repeated impact of each click on advance also wears the crest, increasingly so with use. With wear, the flank that was vertical rounds over, and a rounded flank loses grip and starts to let the wheel skip under load: the kick-out you avoided before by geometry now reappears through wear. Too many small teeth speed this up: less material per tooth, so they wear away sooner. If the mechanism is going to take a beating, fewer and more robust teeth hold better than many fine ones.
The third is slow and treacherous: the creep of the pawl spring. The elastic arm is preloaded to drop onto the teeth, and a plastic under sustained stress creeps slowly and releases that tension over months. The pawl loses contact pressure, drops with less force, and one day stops settling properly, or starts skipping teeth on advance. PLA is the most prone under sustained load; if the pawl is going to live preloaded for a long time, size it so that at rest it's as lightly loaded as possible, and spread the deformation over a long arm instead of concentrating it in a short, tense one. And if the service life is long, the separate spring from the earlier note is the real fix.
The criterion that ties the three together: size the tooth so that the maximum return load doesn't exceed the shear limit of the printed flank. Estimate the tangential force at the contact from the torque the wheel has to withstand and its radius, and give the tooth enough cross-section—width and flank height—so that this force, spread over the contact area, stays well below the plastic's shear strength in that orientation. A tooth that passes in bending can fail in shear if you leave it too thin; calculate for the mode that really loads it.
If what you're after isn't counted steps but a smooth, continuous brake that won't let it back up at any angle, then another no-back mechanism is the answer; but if you want the click, the feel, and counted directional locking, start by orienting the wheel and pawl correctly, following Layer orientation for motion—that's where the ratchet lives or dies.