Temperature and layer bonding
A printed part is thousands of separate beads that had to weld to each other while they were still hot. When that welding is strong, the part behaves almost like solid plastic. When it's weak, the part looks perfect and then splits along a layer line the first time you stress it — the classic FDM failure where a bracket snaps clean across, or a case cracks open along a horizontal seam under no real load. The bond between layers is a temperature story, and this article reads the two signatures it leaves: layers that come apart with a visible gap, and layers that look fused but are secretly weak. Why the part is anisotropic in the first place — strong across a layer, weak between layers — is the subject of Layer adhesion and anisotropy; here we chase the failure.
Welding is a heat budget
Every bead is laid molten onto a bead that's already cooling. For the two to fuse, the new plastic has to reheat the old surface past the point where the polymer chains can tangle across the boundary. That reheating is a budget, and everything that steals heat from it weakens the weld: a nozzle that's too cold puts down plastic without enough heat to reflow the layer beneath, a cooling fan blowing too hard chills the bead before it can bond, and a small layer printed fast gives each bead almost no time in contact before the next arrives on a surface that's already cold. The bond is strongest when the plastic is hot, the neighbour is still warm, and nothing rushes the two apart.
This is why the same spool prints strong in one part and brittle in another. It isn't the material — it's the heat budget the settings and the geometry handed each weld.
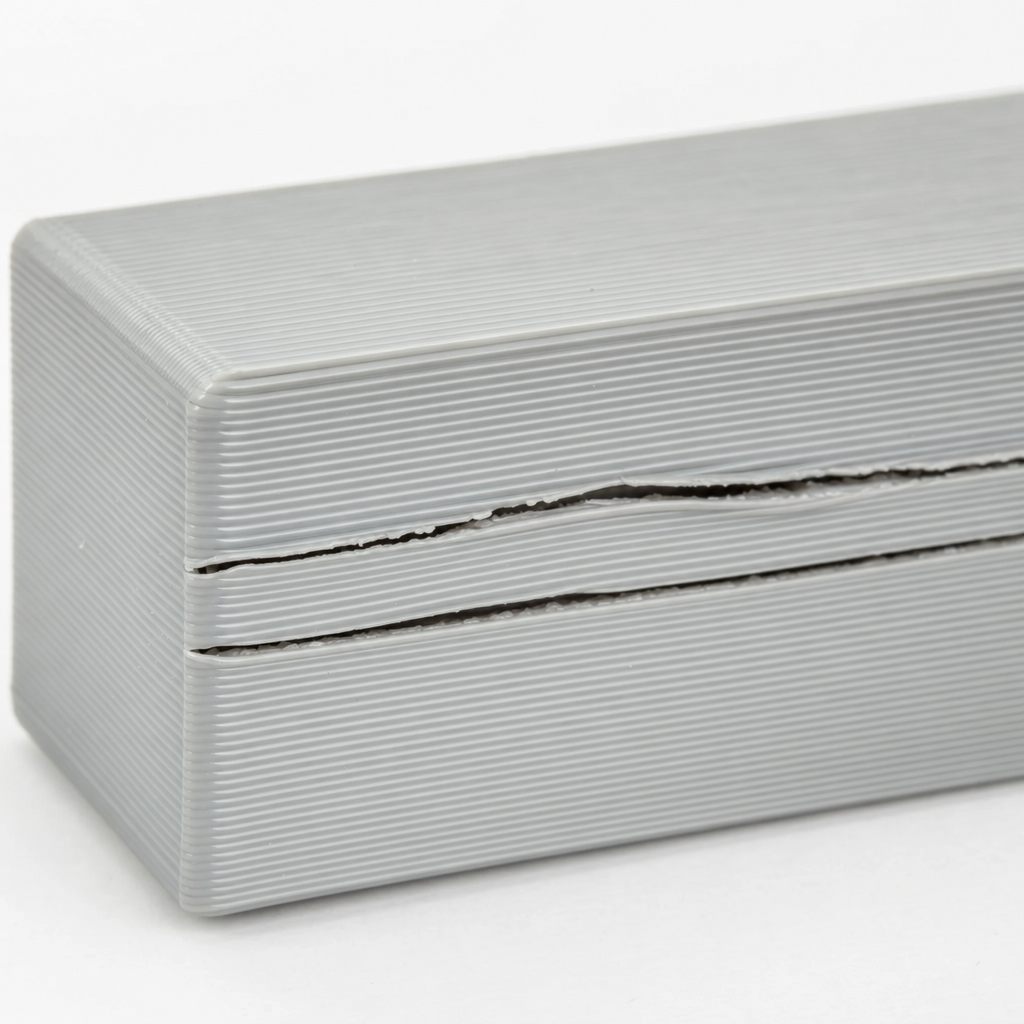
Visible gaps between layers — delamination
The clearer signature is delamination: you can see daylight between layers, a crack or a seam that opens as the part cools or the moment it's flexed. The plastic never fused; it stacked. The usual cause is straightforward — the nozzle was too cold, or cooling was too aggressive for the material — and higher-shrinkage materials show it worst. ABS and nylon contract hard as they cool, so each new layer is trying to pull away from the one below even as it bonds; without a warm, draught-free environment the outer layers cool and shrink faster than the core and the part cracks itself apart from the inside. PETG and PLA are far more forgiving.
The machine levers are the front line here: raise the nozzle temperature toward the top of the material's range, turn the part-cooling fan down for materials that need the heat (low or off for ABS, moderate for PETG, full only for PLA where bridging and overhangs need it), and for ABS and nylon, print in an enclosure that keeps the ambient warm so the whole part cools slowly and evenly. Slowing the print also helps, by leaving each layer warmer when the next arrives.
| Material | Part-cooling fan | Bonding note |
|---|---|---|
| PLA | High to full | Forgiving; fan helps overhangs without hurting bonds much |
| PETG | Low to moderate | Too much fan gives weak, glassy layers |
| ABS / ASA | Off to very low | Needs an enclosure; fan causes cracking |
| Nylon | Off to low | High shrinkage; keep it warm and dry |
Fused-looking but weak — the hidden failure
The more dangerous signature has no visible gap at all. The layers look welded, the surface is clean, and then the part snaps along a layer under a load it should have shrugged off. The weld formed, but thin — enough to hold the shape, not enough to carry force across the boundary. This is where design does the heavy lifting, because you usually can't out-tune a load pointed the wrong way through the layers.
The dominant lever is orientation. FDM parts are strong within a layer and weak between them, so a part loaded across its layer lines is loaded across its weakest plane. Orient the part — in the model and at export — so that the main load runs along the layers, not across them: lay a hook or a bracket down so the pull follows the beads, don't stand it up so the pull peels layers apart. Where the geometry forces a weak axis, add material where the stress concentrates — fillet inside corners so the load isn't funneled into a sharp notch sitting right on a layer boundary, and add walls rather than relying on infill, since perimeters carry load far better than a sparse lattice. A quick A quick stress check with FEA will show you where the stress actually concentrates before you commit filament.
Dry filament, honest heat
One quiet cause sits behind many weak-layer prints: wet filament. Nylon, PETG and PLA all absorb moisture from the air, and when that damp plastic hits the nozzle the water flashes to steam, popping the bead and leaving micro-voids that ruin the weld. If layers are weak and the print hisses or shows fine bubbles on the surface, dry the spool before you touch any other setting. And resist the urge to simply crank the nozzle ever hotter to force a bond — past the material's range you get stringing, oozing and heat-creep clogs in exchange, trading one failure for two. Bond strength comes from an honest heat budget: the right temperature for the material, cooling matched to it, dry plastic, and a load that runs the way the layers are strong.