Iterate and measure
Nobody nails a functional part on the first print. The peg is 0.15 mm too fat, the slot a hair too tight, the boss a touch short. The maker who ships fast isn't the one who designs perfectly — it's the one who measures the first print, computes how far off it was, and feeds that number straight back into the model. Because Kapy is parametric, that loop is fast: change a dimension, the part regenerates, you print again, and two or three rounds in it's right. This is the last article of the workflow for a reason — it's how everything before it converges.
Stop chasing the perfect first print
Aiming for a one-shot perfect part is a trap. You spend an hour agonising over a clearance you can't actually predict, print it, and it's wrong anyway. The faster mindset is to expect to iterate and design for it: print, measure, adjust, repeat. Each round removes most of the remaining error, so you converge quickly — usually two or three prints, not ten, and not one heroic attempt.
The whole reason this is cheap is that the model carries its dimensions as parameters, not as baked-in geometry. The correction isn't a redraw; it's editing one number.
Measure, then compute the delta
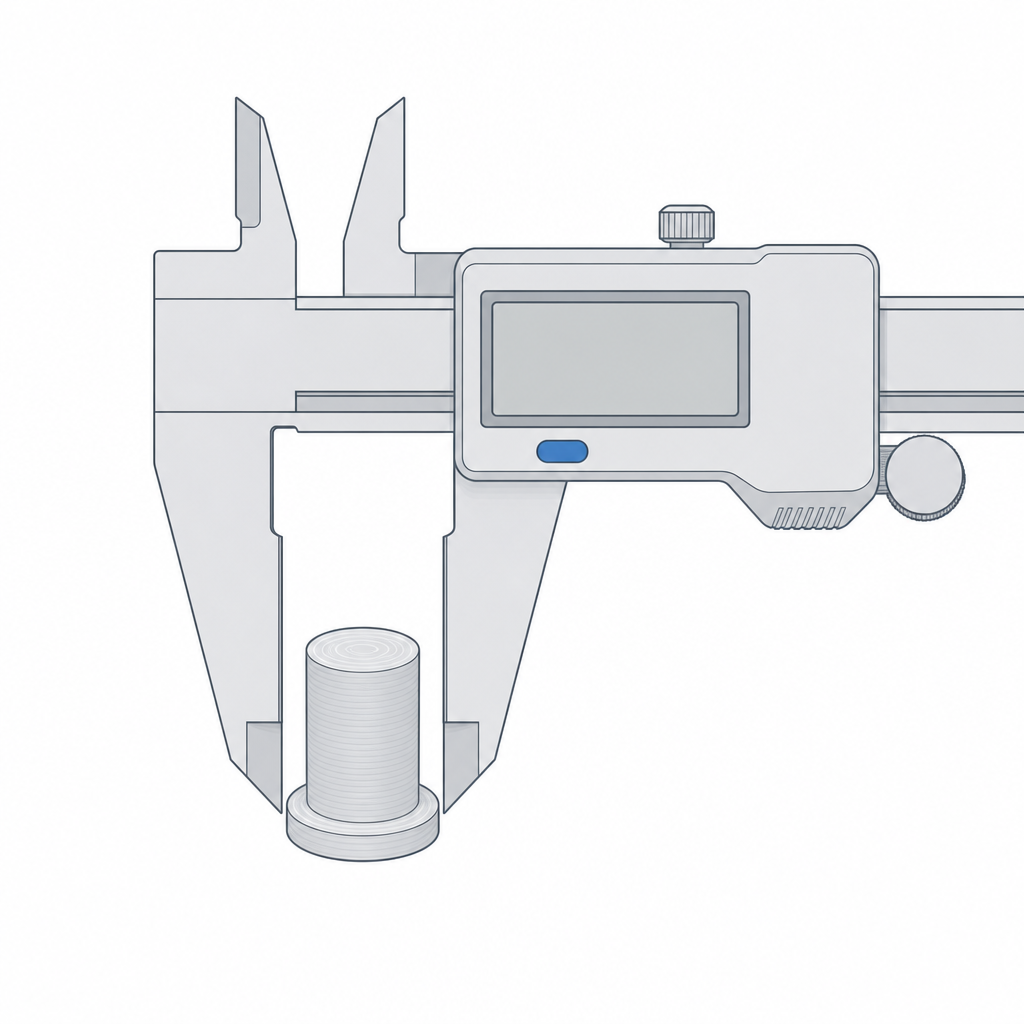
Pick up calipers — the real kind, reading in mm to two decimals. Eyeballing a fit tells you nothing useful; a measurement tells you exactly how much to change.
Measure the feature on the print, then compare it to the nominal value you modelled:
delta = measured − nominal
A 8.00 mm peg that comes off the bed at 8.18 mm has a +0.18 mm delta — the printer is laying plastic 0.18 mm proud on that feature. Now you know the correction, and you know its sign. Don't guess at "a bit smaller"; subtract the delta.
Feed the delta back into the parameter
This is where parametric modelling pays off. You have a delta; apply it to the dimension that produced the error and let the part regenerate.
For that +0.18 mm peg, drop the modelled diameter by ~0.18 mm and reprint. For a hole that's coming out 0.2 mm undersized, open the parameter by 0.2 mm. The geometry rebuilds, the corrected dimension flows through every feature that depends on it, and the next print lands far closer.
Where the same error shows up on every part — your standard hole-to-shaft clearance, for instance — don't re-derive it each time. Capture it once as your calibrated number, the way Real-world printed clearances describes, and start new designs from it. Iteration is for the part-specific surprises, not for re-learning constants you already measured.
The loop, closed
Put the whole workflow together and the final stage is this short cycle: print, measure against nominal, push the delta into the parameter, regenerate, print again. Each pass is cheaper than the last because you're correcting a known quantity, not exploring blind.
That's the payoff of building parts as parameters instead of fixed geometry. The first print is never the answer — it's the first measurement. The model is built to absorb that measurement and come back right.