Print-friendly snap-fits
A snap-fit clip lets two printed parts click together with no hardware at all — until the clip snaps off in your hand on the first attempt. Almost always the cause isn't the geometry of the beam; it's the way the part was printed. A cantilever clip lives or dies by which direction the layers run through it. This article is about the printing side of snap-fits: how to orient them, where to fillet, and the small relief features that make them survive. For the structural side — beam length, deflection, taper — read Designing snap-fit joints that survive in the Mechanisms track.
Lay the layers along the beam
A snap-fit beam bends every time it's engaged, and that bending puts the beam in tension along its length. A printed part is weakest between layers — that's the anisotropy covered in Layer adhesion and anisotropy. Put those two facts together and the rule writes itself.
Print the beam so the layers run along its length, not across it. When the layers run lengthwise, bending stresses the strong direction of the plastic and the beam flexes like a leaf spring. Print the same beam standing up, with layers stacked across it, and the first flex pulls the layers apart — the clip delaminates and snaps clean off at a layer line.
If one part has clips pointing in two directions, you can't make both ideal — orient for the clip that flexes most, or split the part.
Fillet the root
The base of the cantilever, where it joins the body, is where all the bending stress concentrates. A sharp inside corner there is a crack waiting to start, and on a printed part it's also a weak seam between layers. Add a generous fillet at the beam root. It spreads the stress over a curve instead of piling it into a corner, and it gives the layers at the junction more cross-section to hold onto. This single fillet is often the difference between a clip that lasts and one that fatigues off.
Ramp shallow, retain steep
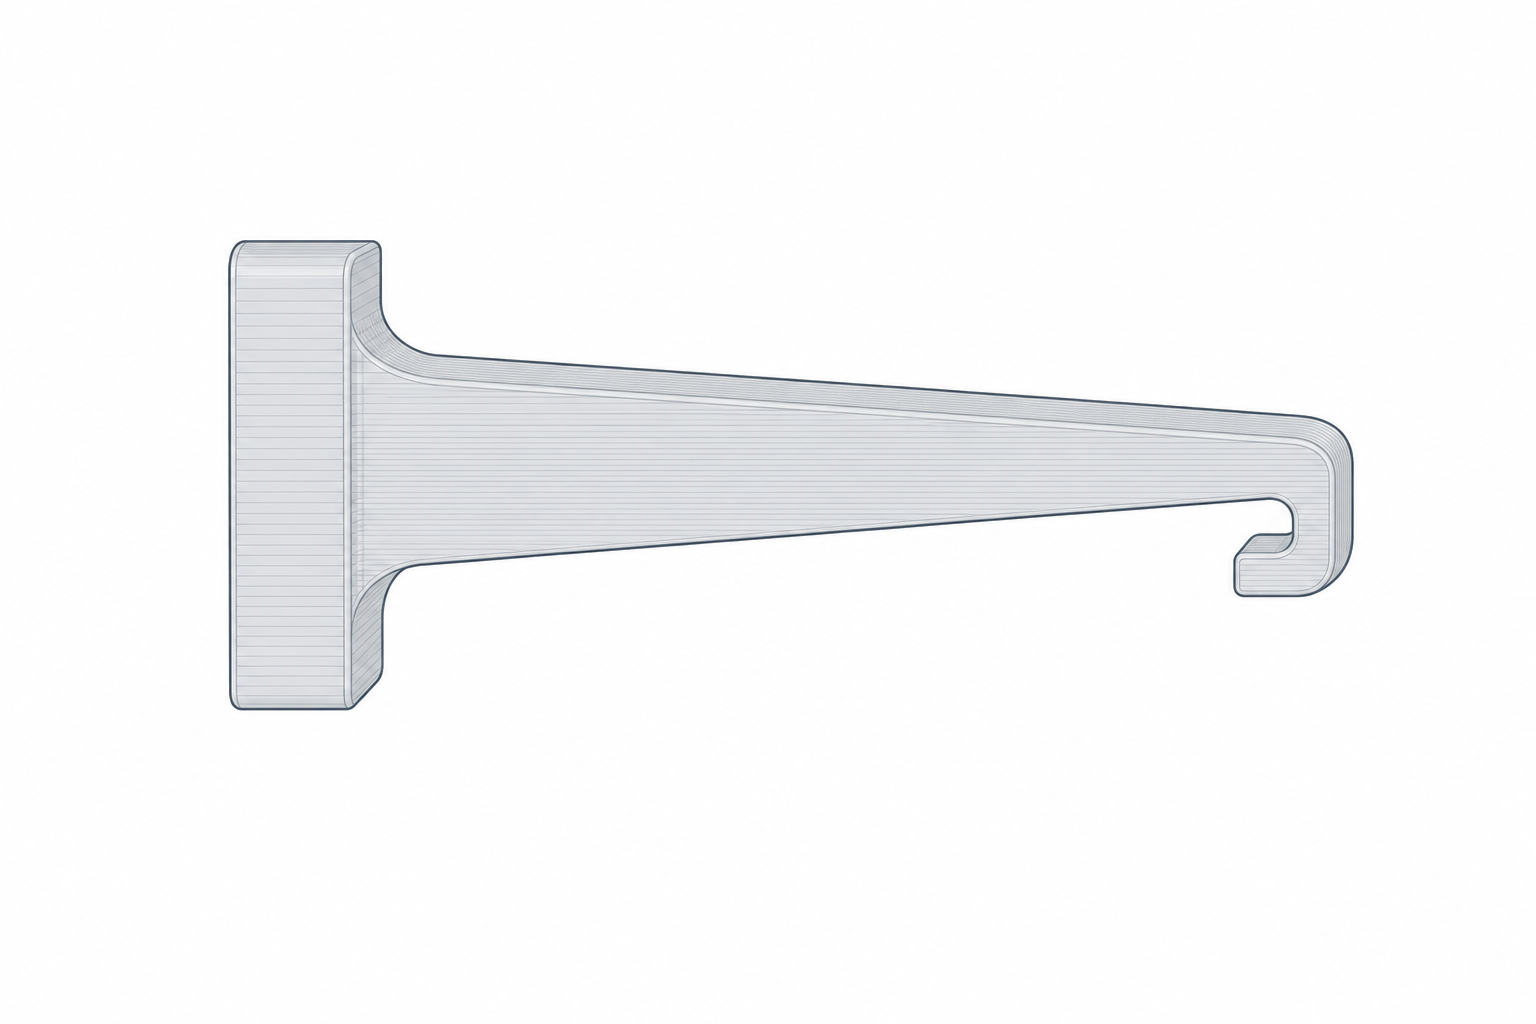
The hook on the end of the beam needs two different faces:
- A shallow insertion ramp on the leading side — a gentle slope, so pushing the parts together flexes the beam smoothly and the clip slides home with a deliberate press.
- A steep retention face on the trailing side — close to square, so once it locks behind the lip it resists pulling back out.
A symmetric hook either won't go in or won't stay; the asymmetry is the whole point. Tune the lip engagement by tenths of a millimetre on a printed test piece until it clicks with intent rather than falling in or needing a tool.
Add a finger relief
Snap-fits that need to come apart — a battery door, a serviceable lid — should give you something to push on. Model a small finger relief: a notch, scoop, or lever tab next to the clip so you can flex it back with a fingernail instead of prying at the seam with a screwdriver. Without it, people lever against the parting line and crack the housing trying to open a clip that was working perfectly.
Design the beam for stress in Designing snap-fit joints that survive, then come back here to print it: layers along the beam, a fillet at the root, an asymmetric hook, and a relief to release it. Get those four right and a hardware-free joint will outlast the screws it replaced.