Test coupons and calibration
The most expensive way to find out your clearance is wrong is to print the whole assembly first. A 6-hour part comes off the bed, the bearing won't seat, and you've learned exactly one thing about one fit. A test coupon learns the same thing in fifteen minutes: a small, deliberately cheap print whose only job is to measure how your printer, with your filament, renders a feature. Print the coupon, read the result, then print the real part already knowing the answer.
Why coupons beat guessing on the real part
Every printer-and-material pair has its own fingerprint. The same model, same slicer settings, comes out slightly tighter on one machine and looser on another. Filament brand, colour, even humidity nudge it. There's no universal number you can copy from a forum — there's only the number your setup produces, and a coupon is how you get it cheaply.
The discipline is simple: isolate one variable, print a strip of values around it, pick the one that works. You're not printing a part; you're printing a measurement.
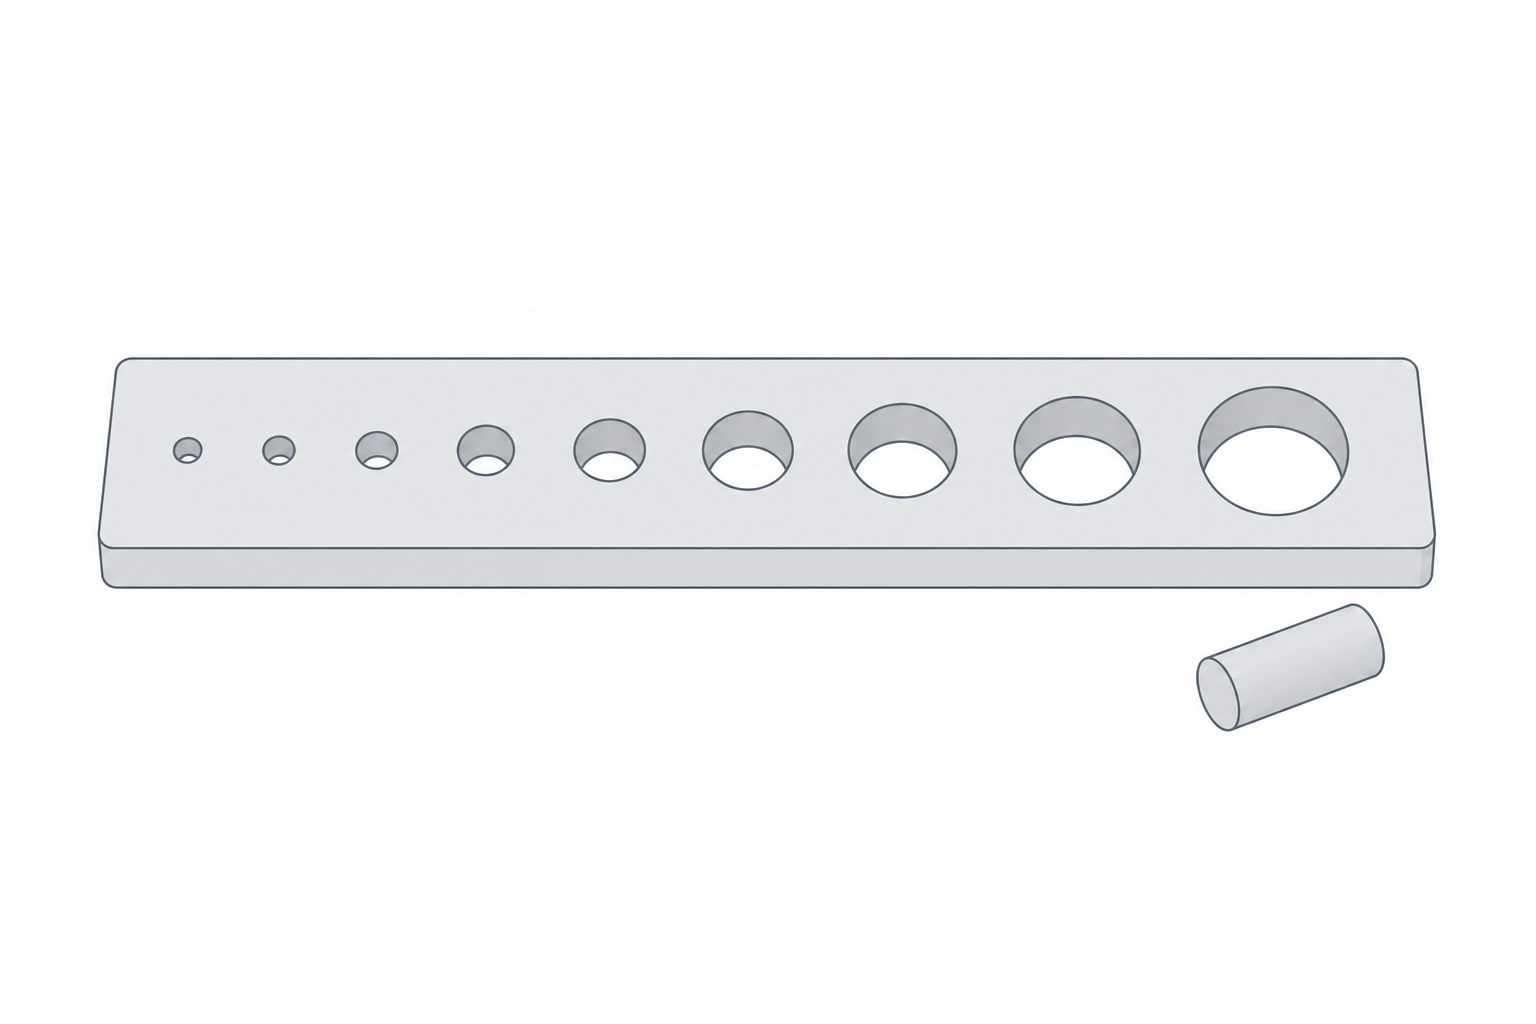
Tolerance and fit coupons
The classic coupon is a row of holes or slots stepping through a range of clearances around a known shaft — a 8.0 mm rod, say, with holes at 8.1, 8.2, 8.3, 8.4 mm. Print it, try the rod in each, and the first hole that gives the fit you want hands you your real-world clearance for that machine. That measured number is exactly what Real-world printed clearances tells you to capture and reuse — the coupon is how you earn it.
Print the coupon flat, the way the real hole will print, because a hole's roundness and squish depend on orientation. A clearance measured on a vertical hole won't match a horizontal one.
Overhang, bridging and temperature coupons
Fits aren't the only thing worth pre-testing.
- Overhang fan — a fan of walls leaning from 30° to 70°. Find the angle where the underside turns furry and you know your machine's real overhang limit, which feeds straight into orientation and into Supports and bridging.
- Bridge test — a series of unsupported spans of growing length. Tells you how far you can cross open air before the strands droop — again, the numbers that Supports and bridging asks you to know.
- Temperature tower — one tall print where the nozzle temperature drops every few segments. Pick the segment with clean layers and good adhesion and you've found this filament's sweet-spot temperature.
A small library worth keeping
You don't print these constantly. You print each one once per machine and material and write the result down. The numbers change when you swap the nozzle, switch filament type, or move to a new printer — not between prints.
| Coupon | Measures | Re-run when |
|---|---|---|
| Clearance/fit strip | hole-to-shaft clearance for a real fit | new machine or filament |
| Overhang fan | steepest clean overhang angle | new machine or nozzle |
| Bridge test | longest reliable unsupported span | new machine or nozzle |
| Temperature tower | best nozzle temp for adhesion + finish | new filament brand/type |
| First-layer squish patch | nozzle-to-bed gap and flow | new bed surface or nozzle |
Coupons feel like a detour when you're itching to print the actual thing. They're the opposite: the fifteen minutes that stop you from burning six hours on a part that was never going to fit.