How FDM shapes your design
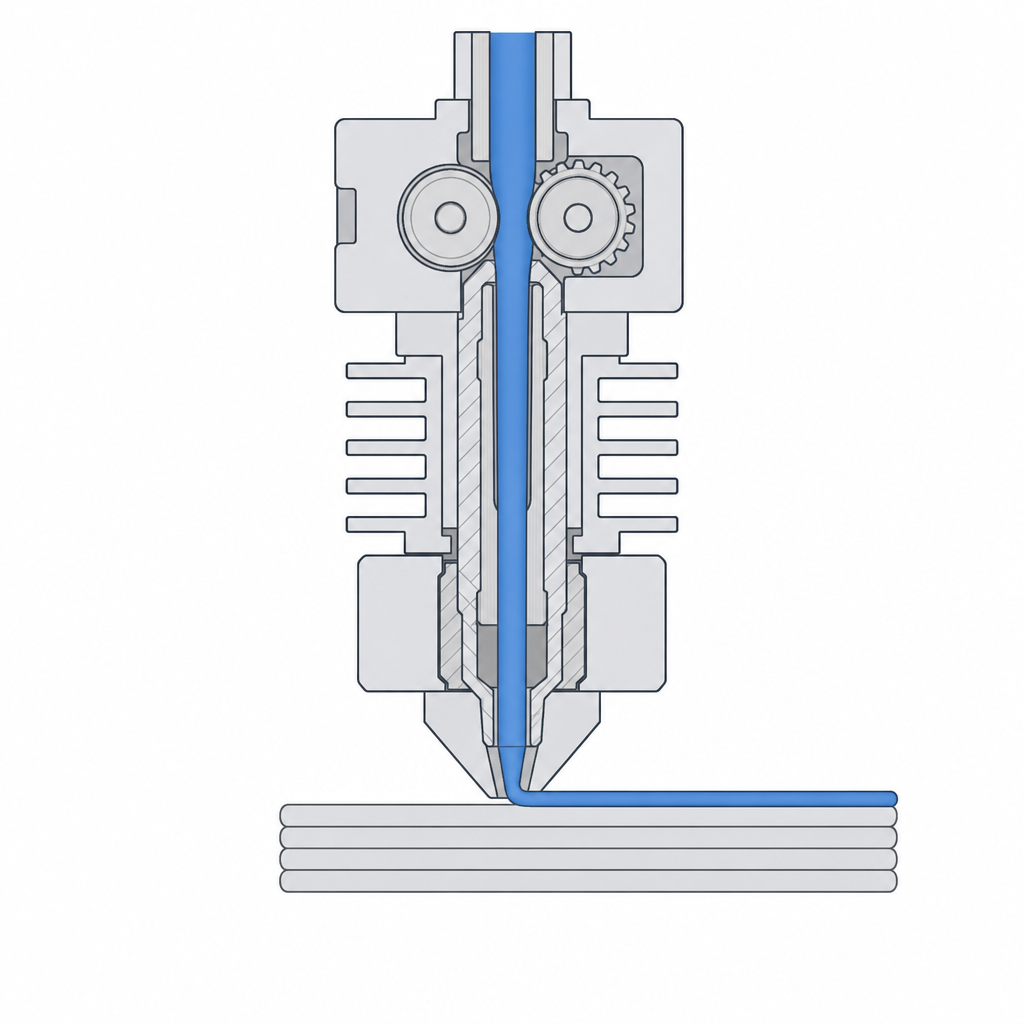
Most desktop 3D printers are FDM machines — fused deposition modelling. Strip away the jargon and an FDM printer is a hot glue gun bolted to a robot: it melts a plastic thread and draws your part with it, one thin line at a time, one layer stacked on the last. That single sentence is the most useful thing you can know about 3D printing, because almost every rule of "good" print design is just a consequence of how the machine actually lays the plastic down.
This article builds that mental model. The rest of the track — overhangs, supports, walls, tolerances — is really just this picture applied to specific problems.
A part is drawn, not carved
If you have used a CNC mill or imagined a sculptor with a block of marble, throw that picture away. Those are subtractive: you start with solid material and remove what you don't want. FDM is additive — you start with nothing and add material exactly where the part should be, by tracing its shape with a moving nozzle.
So the machine never "cuts" a feature. It walks a path and squirts plastic along it. Every surface you see on a finished print is the edge of a path the nozzle took. Keep asking yourself "what path does the nozzle have to walk to make this?" and most design problems answer themselves.
It is built in layers, from the bottom up
The nozzle can only move freely in X and Y — left/right and forward/back. To build height, the whole part (or the nozzle) steps up by one layer height, typically 0.2 mm, and the next layer is drawn on top of the one just finished.
That has a consequence you must internalise: each new layer can only be placed on top of something that is already there. Plastic comes out hot and soft; if there is nothing underneath to catch it, it droops into the air. The print bed is the foundation for layer one, layer one is the foundation for layer two, and so on all the way up.
The five facts that change how you design
Everything in this track grows out of five physical facts. You don't need to memorise numbers yet — just recognise where each one bites.
- Layers stack vertically. A part is strong along its layers and weaker between them, like a stack of paper that tears apart more easily than it rips across. Orientation decides which way that weakness points. (See Orientation and overhangs.)
- The nozzle has a width (usually 0.4 mm), so a printed line is about 0.45 mm wide. Nothing thinner than one line can exist, and walls look best as whole multiples of that width. (See Walls and infill.)
- The layer height sets vertical resolution. Sloped and curved surfaces come out as tiny stair-steps — finer layers, smoother result, longer print.
- Parts are mostly hollow. The printer draws a few outer walls and fills the inside with a sparse lattice, not solid plastic. Strength and weight are design choices, not givens.
- Hot plastic shrinks as it cools. Holes come out a touch small, pegs a touch large, and big flat parts can warp off the bed. This is why printed parts need real tolerances. (See Choosing fits.)
What this looks like in practice
Say you are designing a simple phone stand — a flat back with a lip at the bottom and a kickstand behind. The "think in layers" lens immediately tells you how to print it: lay it on its back so the front face (the part everyone sees and touches) is drawn flat against nothing and comes out smooth, the lip and kickstand grow upward with material under every layer, and the load when a phone leans on it runs along the layers rather than trying to peel them apart.
That is the whole game: you are not just modelling a shape, you are choosing the sequence of paths and layers that build it. Get that picture right and the rest of this track is detail.