Orientation and overhangs
Before a single layer is printed, you make one decision that quietly controls almost everything about how the part turns out: how it sits on the bed. Lay it flat, stand it up, tip it on a corner — same model, wildly different print. Orientation is free to change and expensive to ignore, so it is worth understanding before you design the part, not after.
One choice, four consequences
Orientation is not a single trade-off; it pulls four levers at once. When you rotate a part you are simultaneously deciding:
- Strength runs along the layers, so the orientation decides which direction your part can take load without splitting.
- Surface finish is best on faces drawn flat or facing up; downward and steeply sloped faces come out rough.
- Support is needed wherever the part overhangs thin air — orientation is your first and best tool for avoiding it.
- Print time grows with height (more layers) and with support.
You almost never win all four. The skill is knowing which one matters for this part and orienting for it.
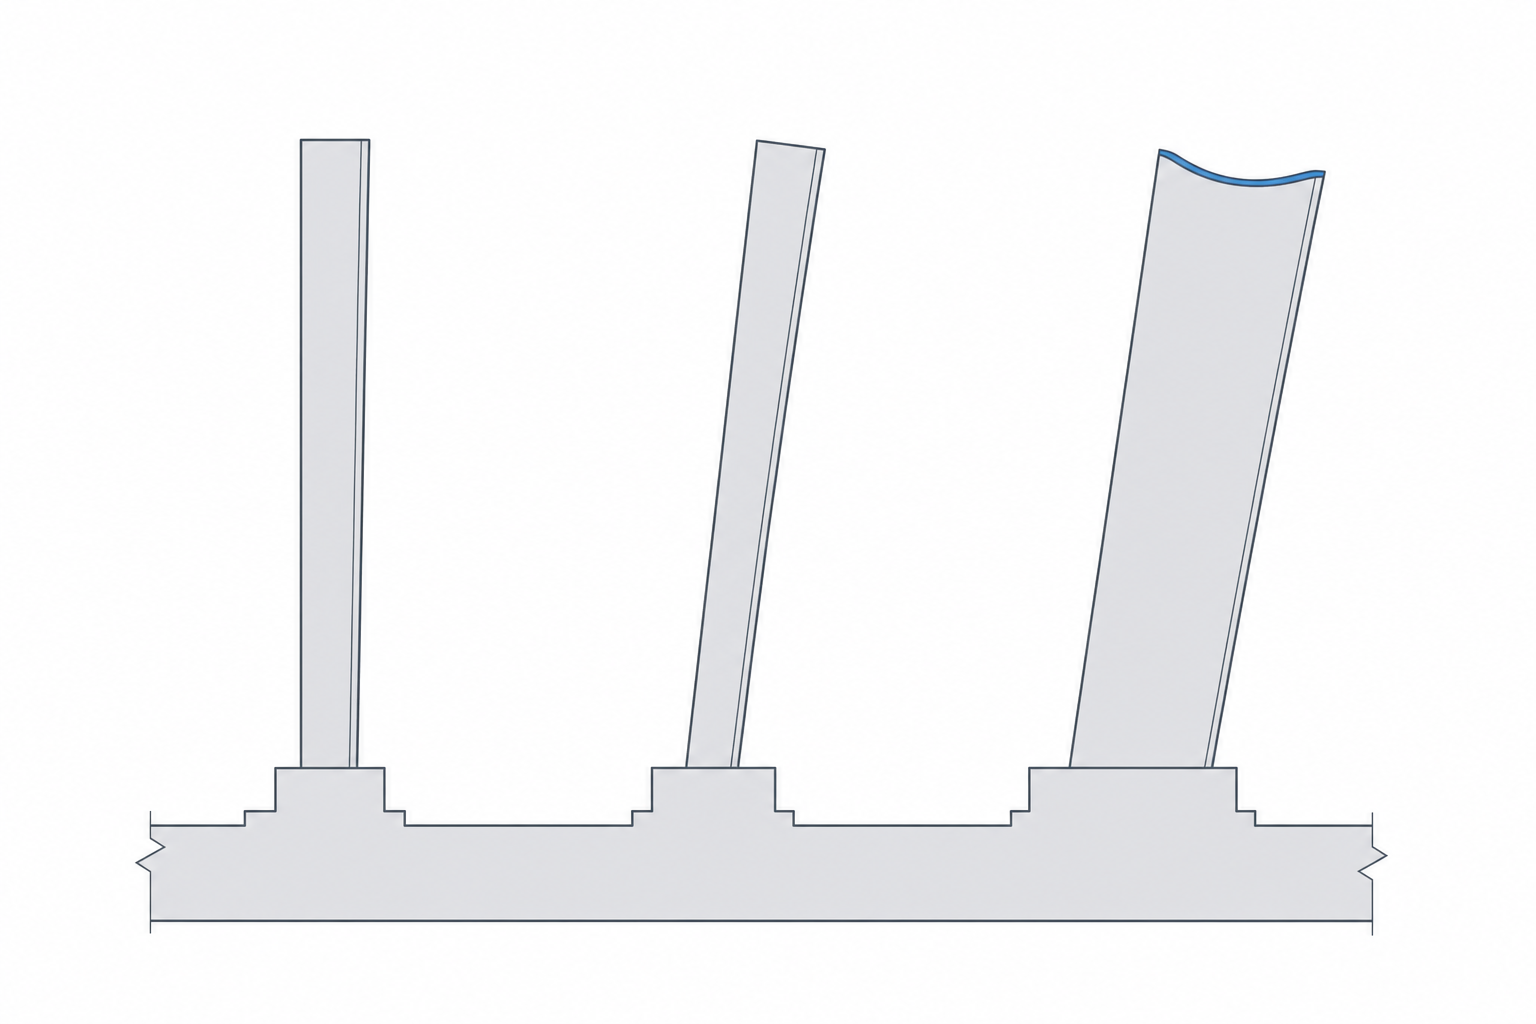
Overhangs and the 45° rule
An overhang is any part of a layer that hangs out past the layer below it, with nothing underneath to land on. Picture the print drawn slab by slab: each new line needs roughly half of its width sitting on the previous line to stick. If it leans out too far, the fresh, still-soft plastic has nothing to grab and droops.
The rule of thumb is the 45° rule: an overhang up to about 45° from vertical prints cleanly. At 45°, each layer is offset by about half a line from the one below — just enough overlap to hold. Push past it and the overlap shrinks fast.
Reorient before you reach for supports
The cheapest fix for an overhang is to rotate the part so the overhang isn't one. A classic example is an L-bracket. Printed sitting on the inside of the L, the top arm sticks straight out over thin air — a 90° overhang that needs a wall of support. Stand the same bracket up on the end of one arm and the whole thing is suddenly a tall, well-supported shape with no overhang at all. Same model, no supports, better strength.
So your first move with any overhang is not "add supports" — it's "can I turn the part so this surface points up, or sits flat, or leans back under 45°?"
Strength follows the layers
Because layers fuse weakly to each other, a printed part behaves like plywood: stiff and strong within a layer, prone to splitting between them. Whatever load the part will carry, you want that force running along the layers, not trying to peel them apart.
A hook is the easy example. Print it lying flat on the bed and the layers run across the hook — hang weight on it and you are pulling the layers apart at the inside of the curve, exactly where it is weakest. Print it standing in its plane and the same load runs along the layers, many times stronger. The shape didn't change; the orientation did.
| Goal | Orient so… |
|---|---|
| Smoothest visible face | that face is flat down or facing up |
| Strongest part | expected load runs along the layers |
| Least support | overhangs stay under ~45° from vertical |
| Fastest print | the part is short (fewer layers) |
There is rarely one perfect orientation — just the best one for what this part has to do. Decide that first, and the overhangs and supports mostly take care of themselves.