How resin (MSLA) printing works
Watch a resin printer run and it barely looks like manufacturing: a plate hangs into a tank of amber liquid, a screen flashes below it, and a few minutes later a fully formed part rises out of the vat, dripping. There's no nozzle, no molten strand, no bead. Where FDM draws your part one line at a time, MSLA develops it one whole layer at a time, like a photograph. That single difference rewrites the design rules — the things you must add to a resin model are different from the things you add to an FDM one, and a shape that's perfectly safe in plastic can wreck a resin print.
A whole layer at once, against a screen
MSLA stands for masked stereolithography, and "masked" is the trick. Below the transparent bottom of the resin vat sits an LCD screen and, behind it, a bank of UV light. The liquid resin cures — turns solid — wherever UV hits it. To print a layer, the LCD lights up the shape of that layer as a mask of sharp pixels, the UV floods through the lit pixels, and the entire cross-section cures at once against a clear film called FEP at the bottom of the vat. Then the build plate, hanging from above, lifts by one layer height, peeling the fresh layer off the film, and the next image flashes. The part builds upside-down, growing downward from the plate a layer at a time.
Its own design rules — not FDM's
Because a layer is defined by pixels of light, resin resolves fine features down to the size of one pixel — text, mesh, filigree that no nozzle could trace. But the same physics imposes rules that have no FDM equivalent, and you build them into the model:
- Supports for almost everything. The part hangs in liquid with no bed under it, so nearly every overhang and every first point of contact needs a support strut. Supports leave small marks where they detach, so you place them where blemishes don't matter.
- Orientation is a real design decision. You almost never print a resin part flat and square. Angling the part — tilting it 30–45° — shrinks each layer's cross-section, reduces the suction force peeling off the film, and keeps support scars off the good faces. The angle is part of how you design the print.
- Hollowing and drain holes. Solid resin parts waste expensive resin and can warp, so you often hollow them. But a hollowed part, or any cup-like or enclosed volume, traps uncured liquid resin inside and forms a suction cup against the film that can tear the print off the plate. The fix lives in the model: add drain holes so trapped resin escapes and no sealed pocket forms. A sealed internal volume that's completely fine in FDM will ruin a resin print.
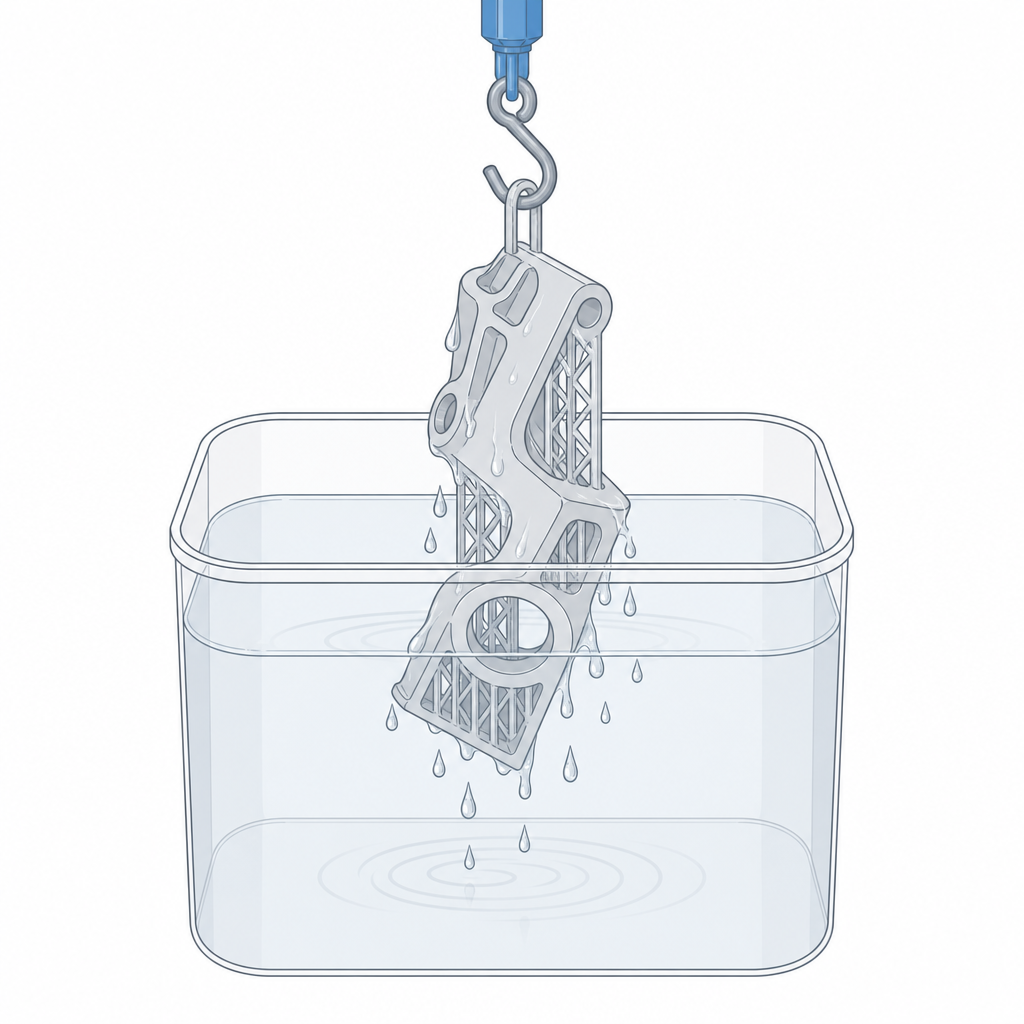
- Finish the part after printing. A raw print is coated in sticky resin. It must be washed (usually in IPA, isopropyl alcohol) and then UV-cured to reach full hardness. Even cured, resin parts are comparatively brittle — strong detail, weak against a sharp knock.
The through-line back to Kapy is that resin doesn't remove design work, it changes it: instead of worrying about layer adhesion and overhang angles, you're deciding where drain holes go, how to orient the part for clean faces, and where support marks are acceptable — all choices you make in the model, before a drop of resin cures. Whichever process you use, a separate question decides how tight a fit you can actually trust: how repeatable the machine is. That's next, in Accuracy, precision and repeatability.