Painting and priming
Paint is how a printed part stops looking like plastic and starts looking like a product. It's also the finish that hides nothing and forgives nothing: gloss paint over unsanded layer lines just makes the ridges shinier and more obvious. A good paint job is mostly what happens before the colour goes on — the priming, filling and sanding — and, for a CAD user, it's mostly a dimension you have to remember to leave room for. Every coat you spray adds material to the part.
Primer is the layer that makes paint work
Bare printed plastic is a poor surface for paint. It's often too smooth for the colour coat to grip, its layer lines telegraph straight through, and different plastics accept paint very differently. Primer solves all three. It's formulated to bite onto plastic and give the topcoat a key — a slightly rough, grippy surface it can hold onto — and filler primer additionally settles into the layer valleys so you can sand the surface flat before any colour appears (the sanding route is covered in Sanding and smoothing).
Then you build up in thin coats, not one thick one. Thin coats dry evenly and don't run; a thick coat sags, orange-peels and traps solvent. Sand lightly between coats with a fine grit to knock down any nibs and give the next coat something to grab. Prime, sand, colour, sand, colour, clear — each layer thin, each one keyed to the last. It's patient work, and it's the difference between a finish that looks deep and even and one that looks like spray paint on a toy.
Adhesion depends on the plastic
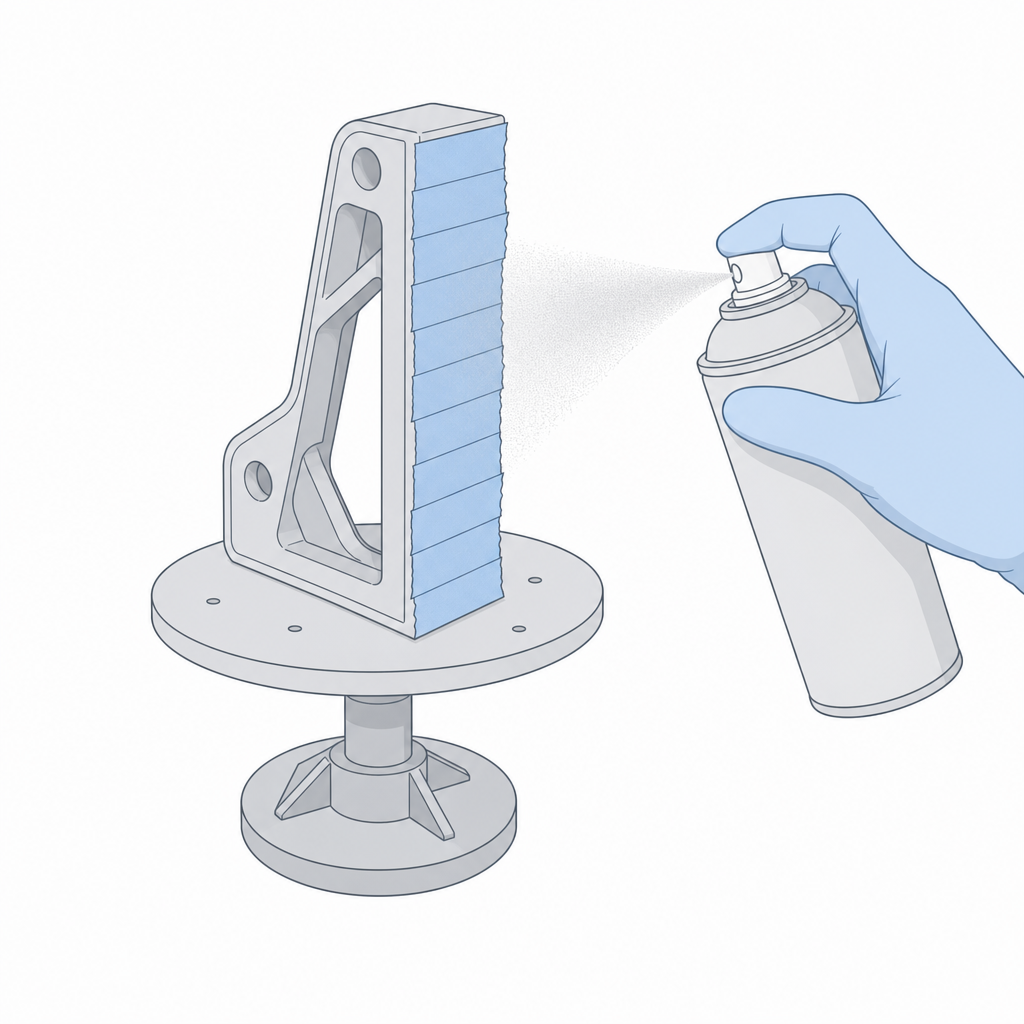
Not all filaments take paint the same way. PLA and PETG are relatively easy — clean them, scuff them, prime them and paint sticks well. ABS and ASA paint nicely too, and take primer readily. The hard cases are the low-surface-energy plastics — polypropylene (PP) and polyethylene (PE) — and others that are hard to paint for other reasons, like nylon: paint simply won't grip these surfaces without special adhesion-promoter primers, and even then the bond is fragile. If a part needs a durable painted finish, that's a reason to choose a paint-friendly material for it in the first place. Masking — tape and film over the areas you want to stay bare — lets you keep threads, fit surfaces and electrical contacts paint-free while the rest gets coated.
Paint has thickness — budget for it
Here's the fact that lands in your model: paint is not free thickness. A coat of primer plus a couple of colour coats plus clear can add anywhere from a couple of hundredths up to two or three tenths of a millimetre per surface — and it lands on every face you spray, from both sides of a gap. Two painted walls that meet have each grown toward the other, so a slot that fit perfectly bare can bind or refuse to close once painted.
So budget the clearance. On any mating feature you intend to paint — a lid that seats in a groove, two halves that clamp together, a peg that enters a hole — open the fit up by roughly the total coating thickness on each painted surface, and remember both sides count. The cleaner move, most of the time, is to not paint the fit at all: mask press-fit surfaces, bearing bores and threaded features so they stay at their printed size, and paint only the show surfaces. A press-fit especially will be ruined by even a couple of tenths of extra material — reason about it the way Tolerances and fits teaches, and treat paint as another allowance to fold into the clearance.
Paint changes how a part looks. When you need to change how it behaves — stiffer, and able to take more heat — you treat the plastic itself. That's Annealing and strengthening.