Hardware: the printer and the material decide half your design
A new guide in Kapy CAD's Learn hub: printers, filaments and resins, and the real tolerances your machine imposes. 30 articles —in English and Spanish— on why the number on the datasheet is never the number you print, and how to turn your own hardware into calibrated fits.
You can draw a perfect part and still print a bad one. A clearance that clicks in PLA jams in ABS; a wall that looks solid on screen comes out with a sliver the slicer drops; a bracket that's crisp on your desk droops in a parked car. None of that is in your model — it's in the machine and the material, and they quietly decide half of what comes off the bed.
So we wrote Hardware, the new Learn guide: how the printer and the plastic turn your drawing into a real object, what each one does to your dimensions, and how to fold that back into fits you can trust.
What's inside
30 articles across 6 sections, from picking a machine to keeping it dialled in:
- Choosing your printer — FDM, resin and the machine layouts (bedslinger, CoreXY, delta): what each process does to your parts and which one fits what you design.
- Inside the machine — the parts that actually touch your print: hot end and extruder, nozzle, build plate and motion, and the design limit each one sets.
- Filaments and materials — PLA, PETG, ABS/ASA, TPU and the filled specialties: pick the family by what would make the part fail, and keep the spool dry so it doesn't move on you.
- From datasheet to design — read a material's numbers —stiffness, strength, temperature, shrinkage— and turn them into decisions instead of trusting a lab figure you'll never print.
- Finishing the part — after the bed: support removal, sanding, vapour and chemical smoothing, paint, annealing, and gluing big parts that don't fit the plate.
- Keeping it dialled in — a machine drifts. Why your calibrated fits wander, which calibration prints matter, and how nozzle and bed upkeep bring them back.
The number on the datasheet isn't the number you print
What ties the whole guide together is that the official figure is almost never the one your part ends up with. A few of the surprises inside:
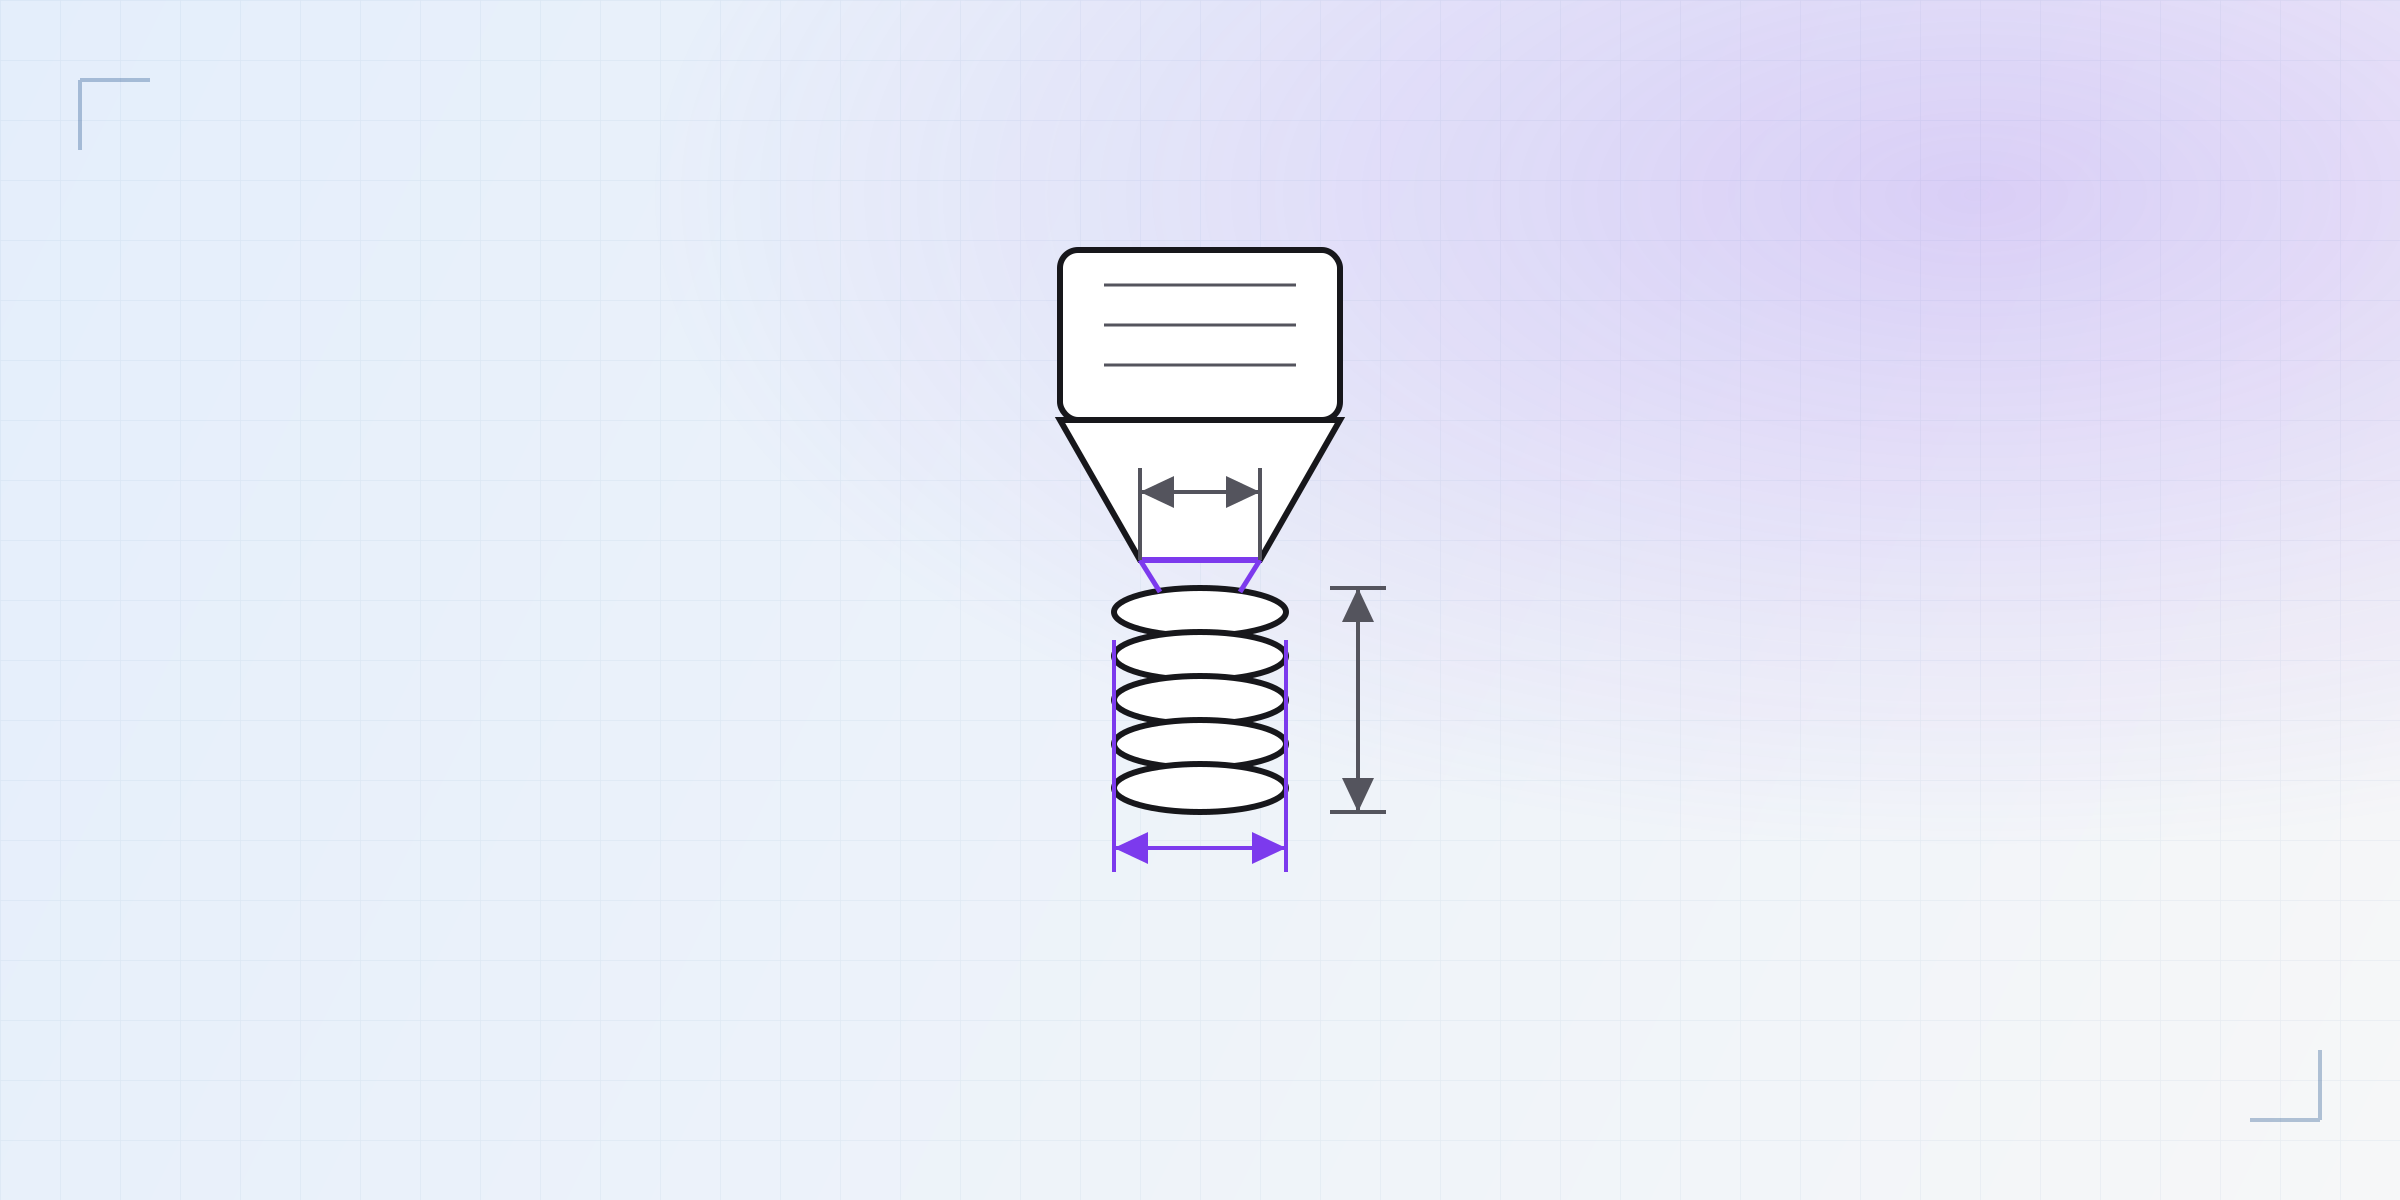
- A 0.4 mm nozzle doesn't print 0.4 mm lines. The bead comes out wider than the orifice, so any wall that isn't a whole number of beads hides a sliver the slicer fills badly — or drops. You designed the weak spot in without seeing it.
- The datasheet's "50 MPa" is the strength of a part you'll never print. That figure is a solid, injection-moulded lab bar; yours is hollow, stacked from beads, and weaker across the layers than along them. The numbers rank materials — they don't predict yours.
- A nozzle wears by lying to you. Brass doesn't clog as it ages; the bore silently widens, every bead prints fatter, and your holes close in with nothing on screen to explain it.
The nozzle draws your part one molten bead at a time, and that bead — not the orifice — is the real unit your dimensions are built from:
Before any of that, the machine layout sets what's even possible: a light head that whips around in XY behaves nothing like a bed that slings the whole part back and forth.
And when a part is bigger than the plate, the fix is a design decision, not a print setting: split it on a joint and let dowel pins line the halves back up.
Not theory — your own numbers
Like the rest of Learn, this isn't a spec sheet. Every article reasons from what the hardware actually does to a decision you make in the model, and the guide ends where it should: turning a calibration coupon into your clearances, on your printer, in your material — the fits that keep working when you change nozzle, spool or plastic.
And we keep going
Every printer, filament and finish that changes what you can design gets its article, its animation and its rule of thumb. Head over to the learn section, find the machine and material you're printing with, and tell us which one is missing — we'll write it.
Written by
Sergio
Building Kapy CAD — parametric 3D modelling for 3D printing, in the browser.


